
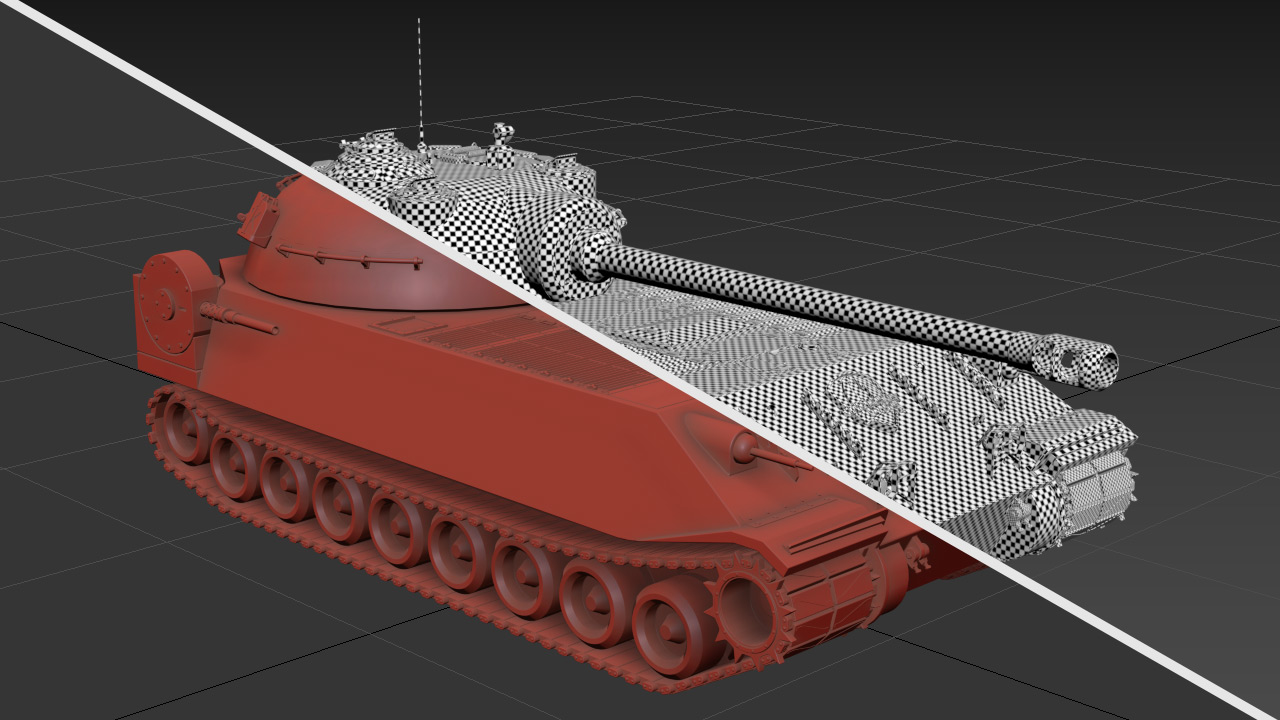
Chrysler K GF – Unwrapping Process in 3ds Max
The Chrysler K GF tank project was initially modeled in Autodesk Inventor to achieve precise mechanical detailing, and then exported to Autodesk 3ds Max for the unwrapping process. Unwrapping is an essential step in preparing a 3D model for texturing — it allows a complex object to be “unfolded” into a 2D layout so textures can be accurately mapped. This process ensures that every surface of the model, no matter how intricate, receives consistent and distortion-free textures suitable for rendering or game engines.
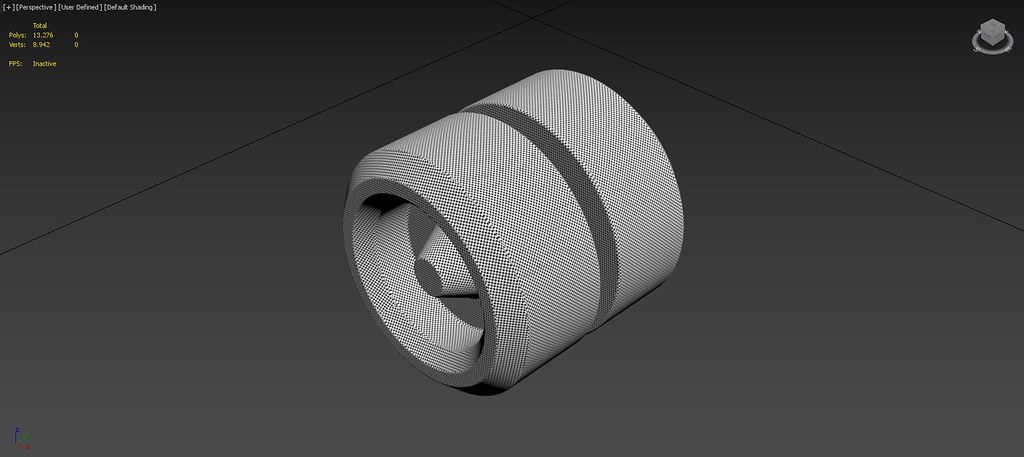
The wheel model consists of symmetrical geometry and repeating elements, making it ideal for a clean and efficient unwrap. Cylindrical mapping techniques were used to maintain even texel density around the tire and rim. Seam placement was planned along hidden or less visible areas to avoid texture stretching. Consistent UV spacing helps achieve smooth and realistic texture flow once materials are applied.
The track chain is composed of many repetitive segments that require precise alignment to preserve mechanical accuracy. To unwrap this model efficiently, one segment was carefully UV-unwrapped and then duplicated across the chain to ensure uniformity. This approach saves time and keeps all UV islands consistent, which is especially important when applying metallic or worn surface textures.
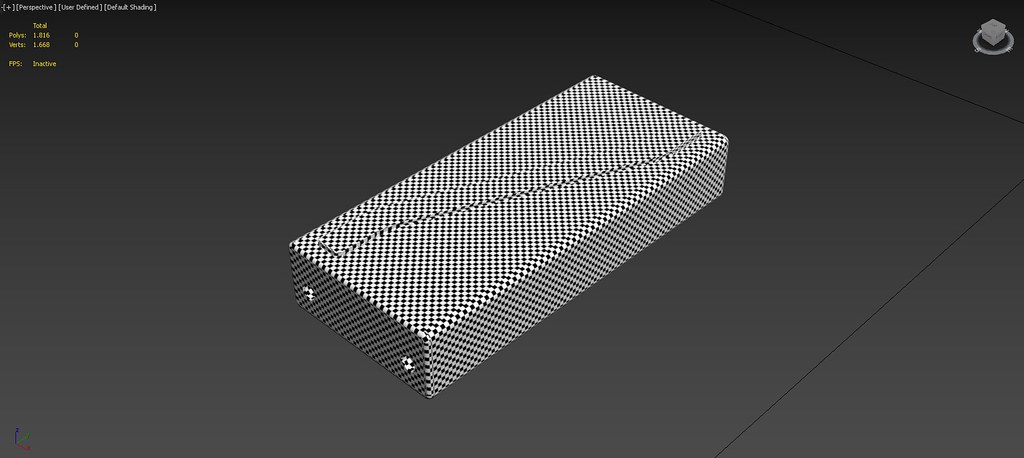
The palette or base panel serves as one of the larger structural surfaces of the tank. Flat projection mapping was used here, followed by manual adjustments to minimize distortion around edges and corners. By keeping UV shells proportionate and logically arranged, this section becomes easy to texture with camouflage patterns or material decals later in the workflow.

The drive sprocket presents a challenging geometry due to its multiple teeth and inner ring details. Planar and cylindrical projections were combined to manage the different surface directions. Careful seam placement allowed for a balanced UV layout without visible texture seams. This ensures that metallic wear and oil stains can be painted naturally across the gear surfaces.

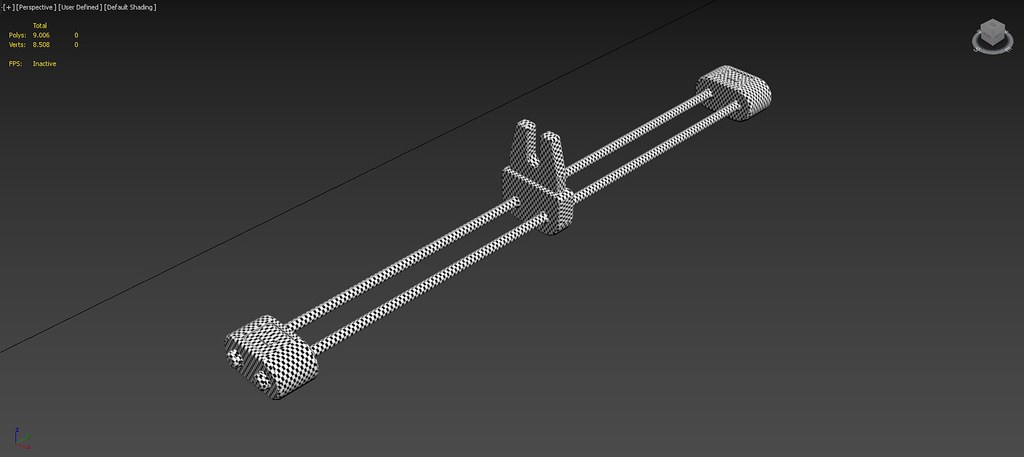
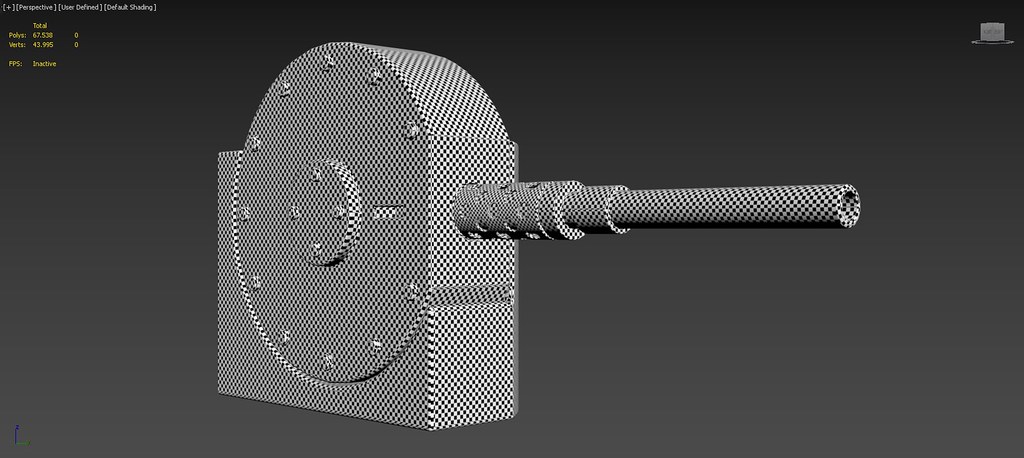
The muzzle brake, located at the end of the tank’s main barrel, required high-resolution unwrapping since it appears prominently in close-up renders. A combination of cylindrical and pelt mapping techniques was applied to preserve curvature. Aligning UV edges properly allows detailed surface materials such as brushed steel or heat discoloration to render cleanly without distortion.
For the auxiliary machine gun, smaller parts like the barrel, receiver, and handle were unwrapped separately and then packed efficiently within the UV space. Maintaining proportional scale between these parts ensures consistent texture resolution. Seam placement was again kept on non-visible sides to retain realism during texturing and rendering.

The engine compartment grid required meticulous unwrapping because of its repetitive yet delicate mesh pattern. By using planar projections and manual island optimization, the UVs were straightened and aligned to match the model’s real-world structure. This step helps achieve realistic reflections and highlights once metallic or painted textures are applied.
Finally, the “Wargaming.net Grand Final” logo was unwrapped separately to ensure that decal placement would appear precisely where intended. This process involved isolating the logo geometry, scaling it proportionally within the UV space, and aligning it with the tank’s main surfaces. Correct UV mapping here prevents stretching or blurring when the emblem texture is overlaid.
The unwrapping process of the Chrysler K GF tank model demonstrates how careful UV planning transforms a highly detailed CAD model from Autodesk Inventor into a game- or render-ready asset in Autodesk 3ds Max. Each component — from the wheels to the logo — was unwrapped with attention to texel density, seam placement, and reusability. A disciplined UV workflow not only improves texture quality but also streamlines teamwork across modeling, texturing, and rendering stages.
No Comments